I loved prints for a long time and then even more when I found out they weren't drawings.
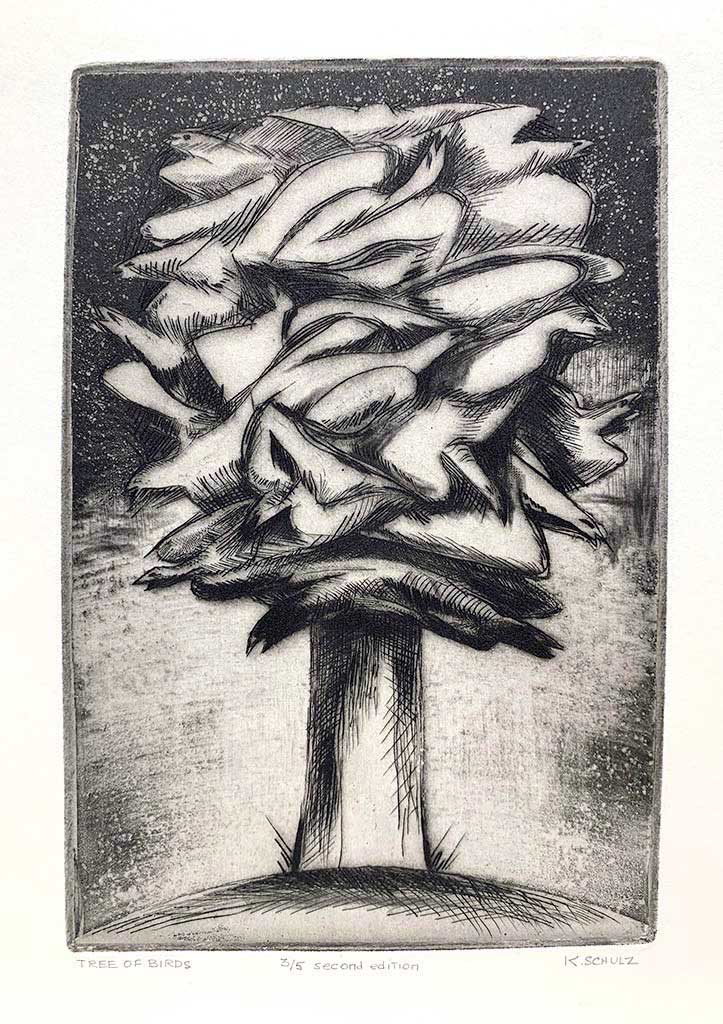
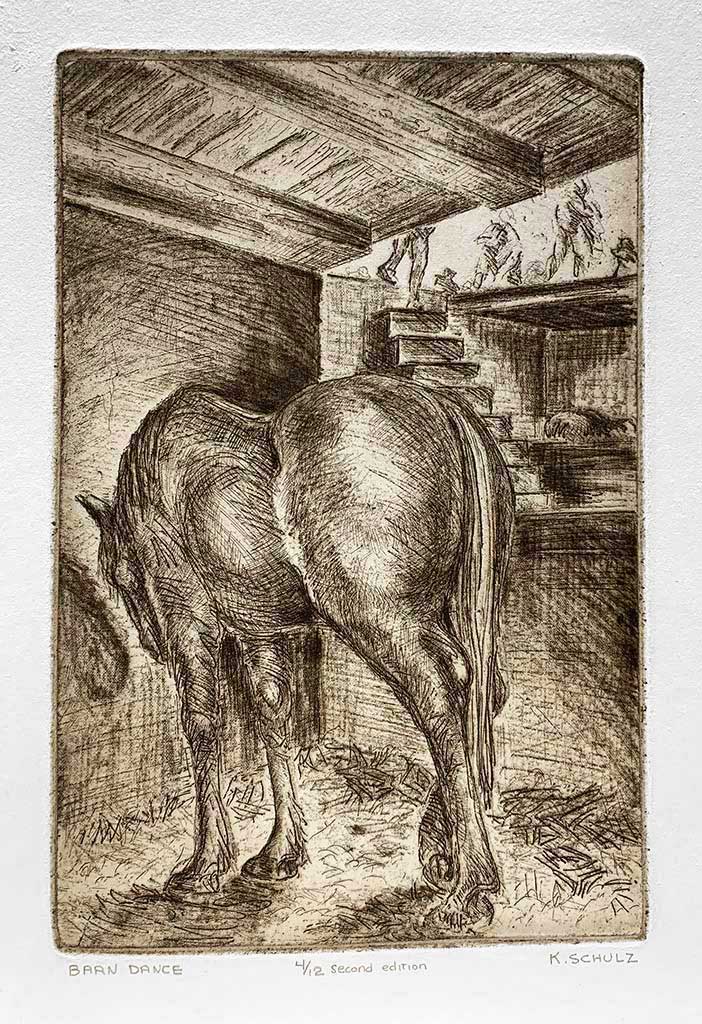


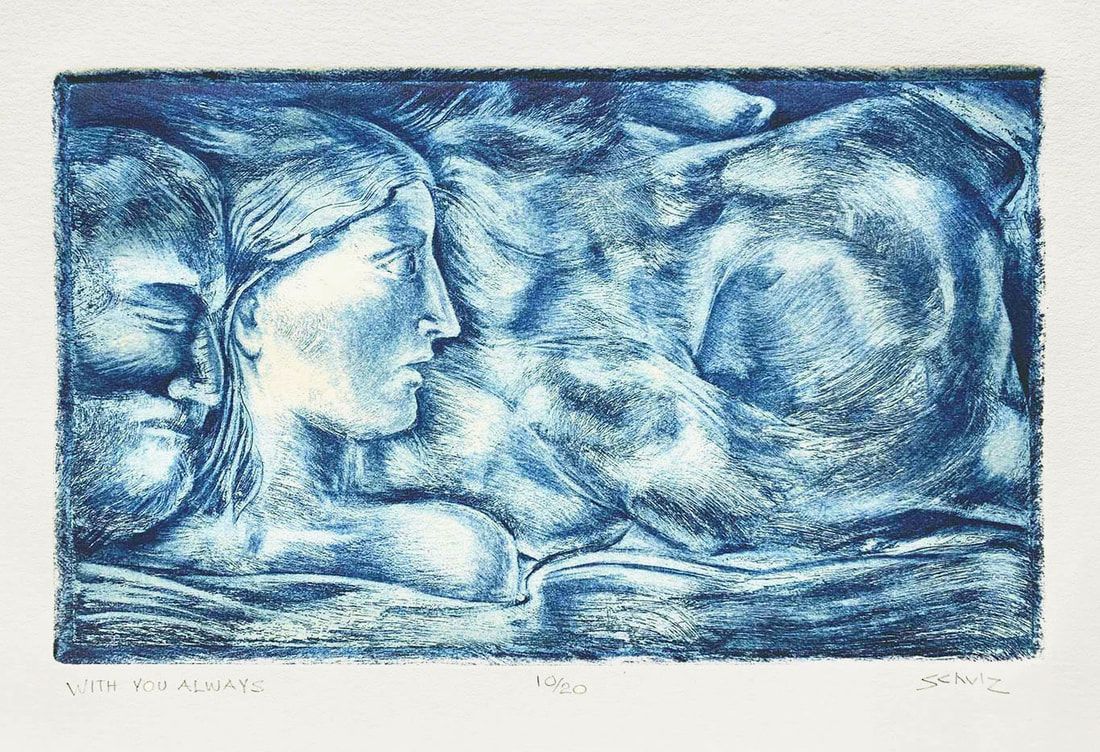
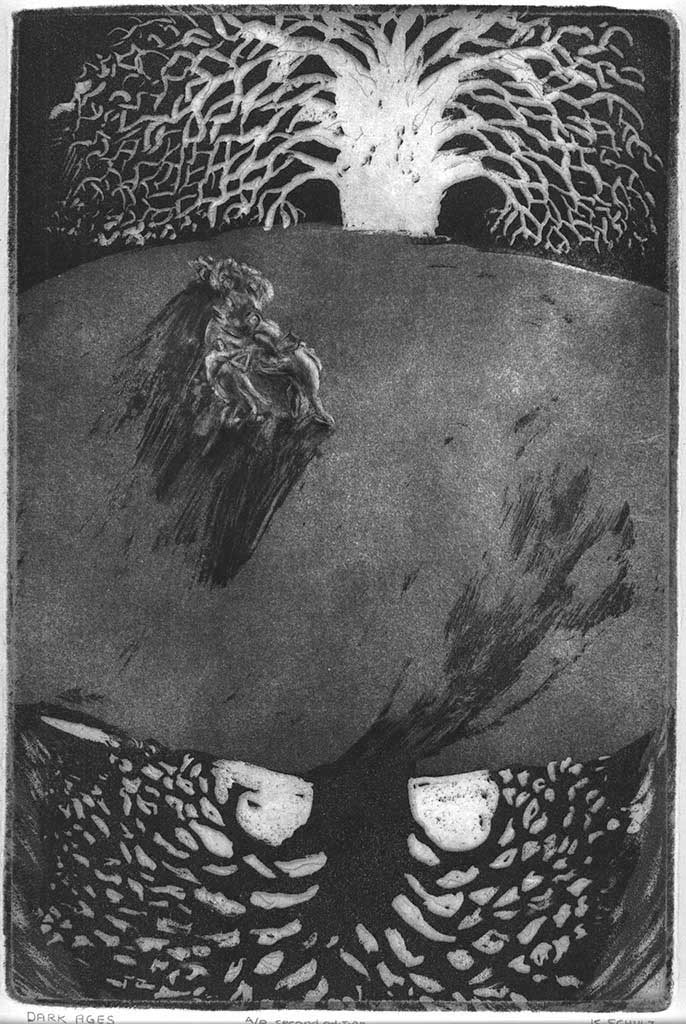

This is how I learned to make an Intaglio print. Intaglio (a design incised or engraved into a material)
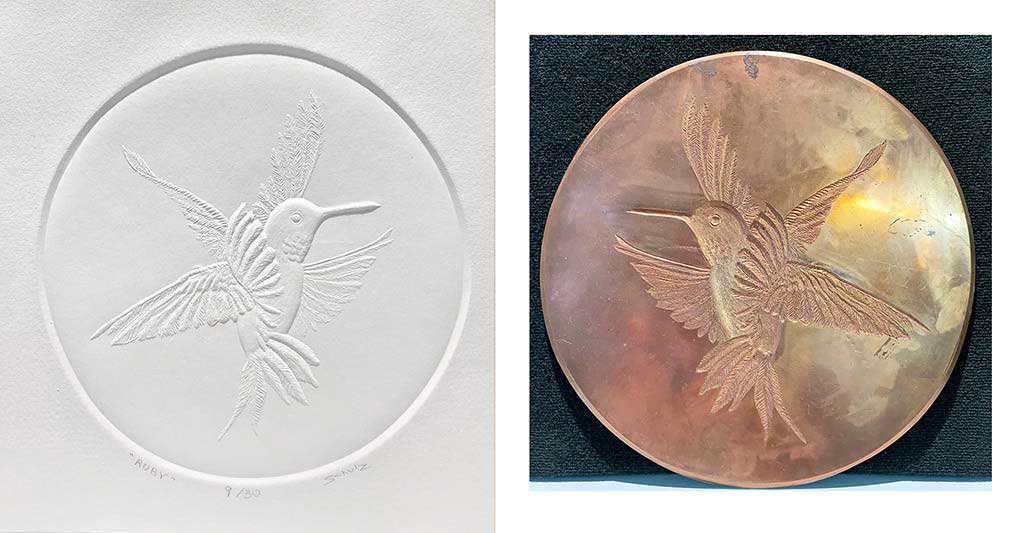
•CREATING THE IMAGE- The image is incised (cut, scratched with tools, or etched with acids) into a copper or zinc plate.
•INK- You apply ink to the plate and the incised areas hold that ink.
•WIPE- You carefully wipe off ink on the plate's surface, all the while leaving ink in the incised areas.
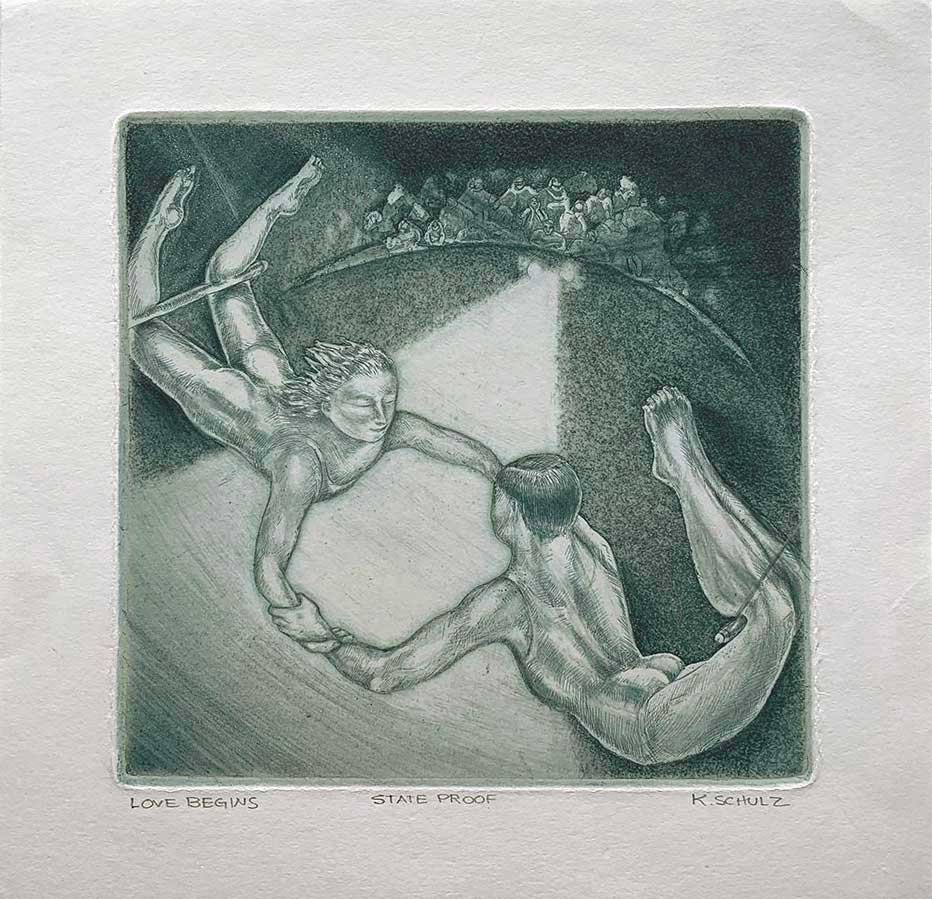
•PRINT- Lay a piece of paper over your plate and roll it through a press which pushes the image (the incised areas holding the ink) out onto that paper. The printed image (state proof) shows where you can add more or scrape away. Put a number on these proofs as you run them through the press.
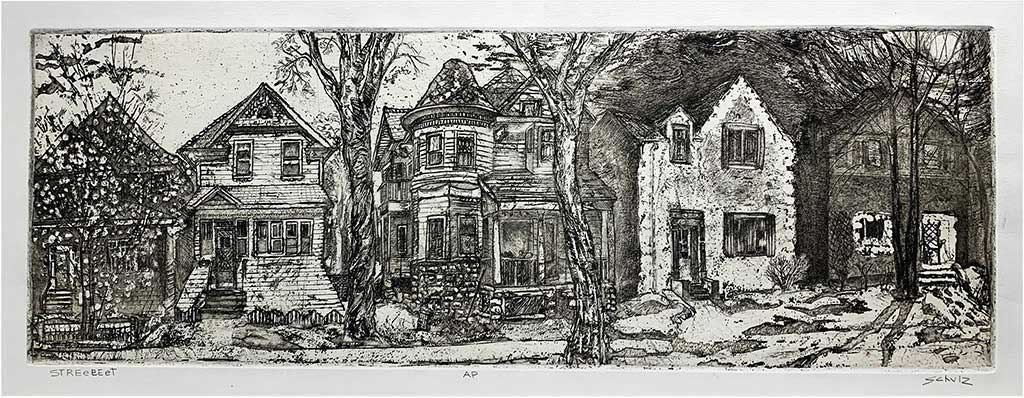
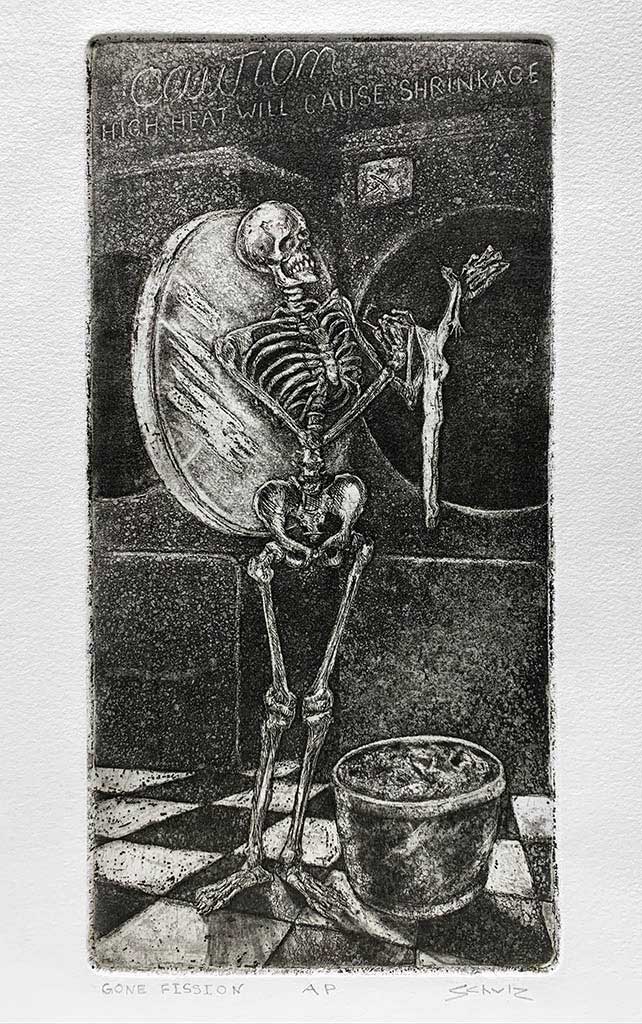
If the image looks finished, this print is (traditionally) named the Artist's Proof (AP) and you are ready to print a limited edition.
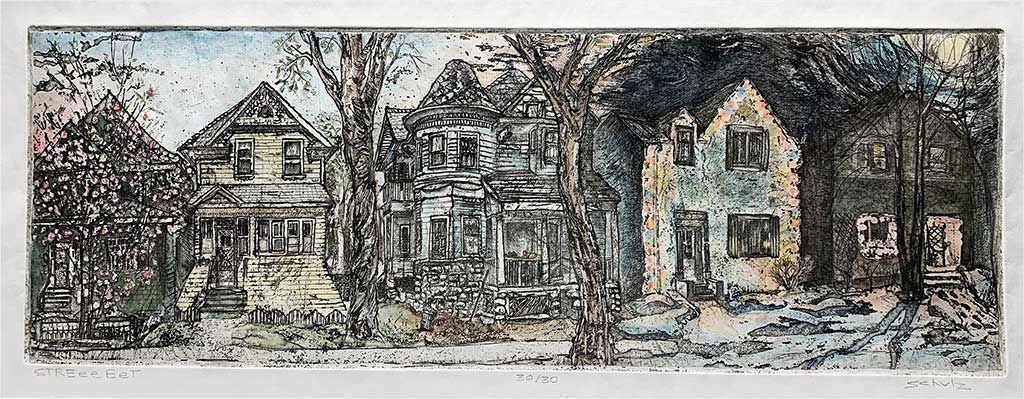
•EDITIONING- Ink, wipe and print how ever many you decide the edition should be. Take care to number each print on the back as you pull them from the press.
•SIGNING- Below the image, in pencil, print:
the title, the print number over (/) how many prints in the edition, your signature.
My favourite kind of printmaking became this; lifted off the surface, entering into your space,
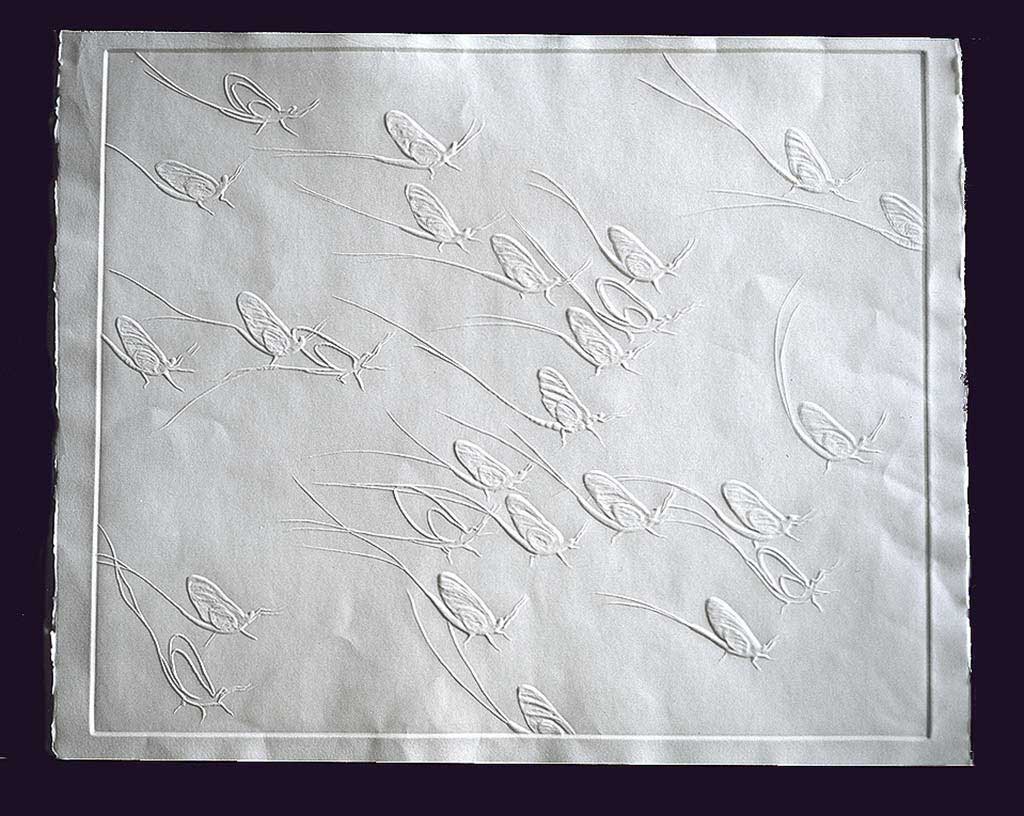
Blind Embossing / Inkless Intaglio: The image is incised/carved into the plate (metal, linoleum, wood etc.) and printed without ink
Digital: an image created with computer programs
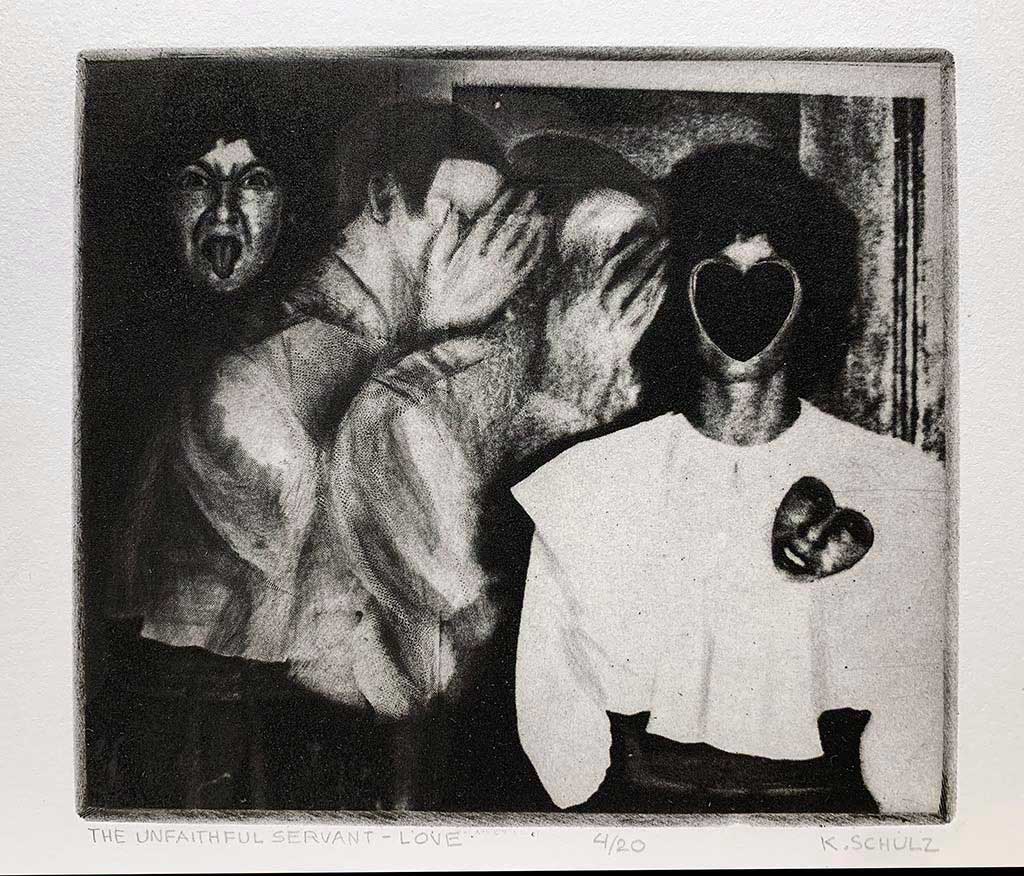
Mixed/Combined media
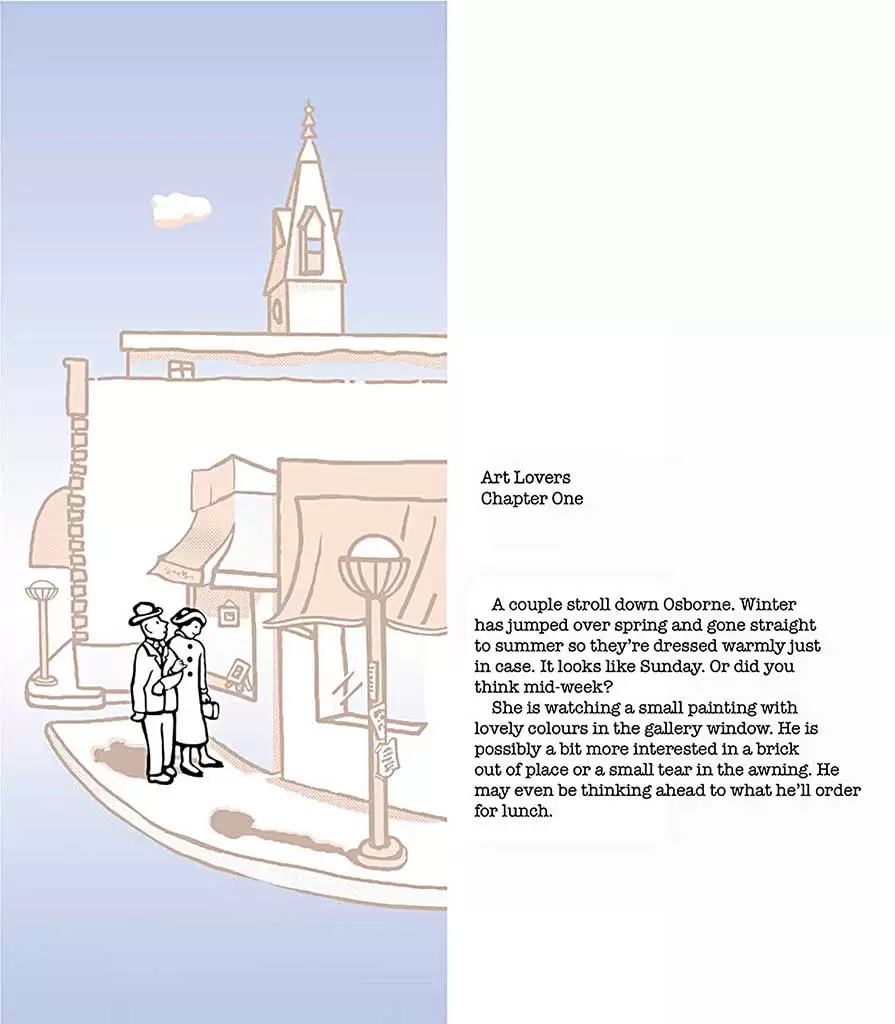
Art Lovers